

Table of Contents
With the scripts that we offer you with this article, you can migRaven.Automate tasks 24/7.
Basic information about the migRaven.24/7 tasks can be found in our help article Task Management.
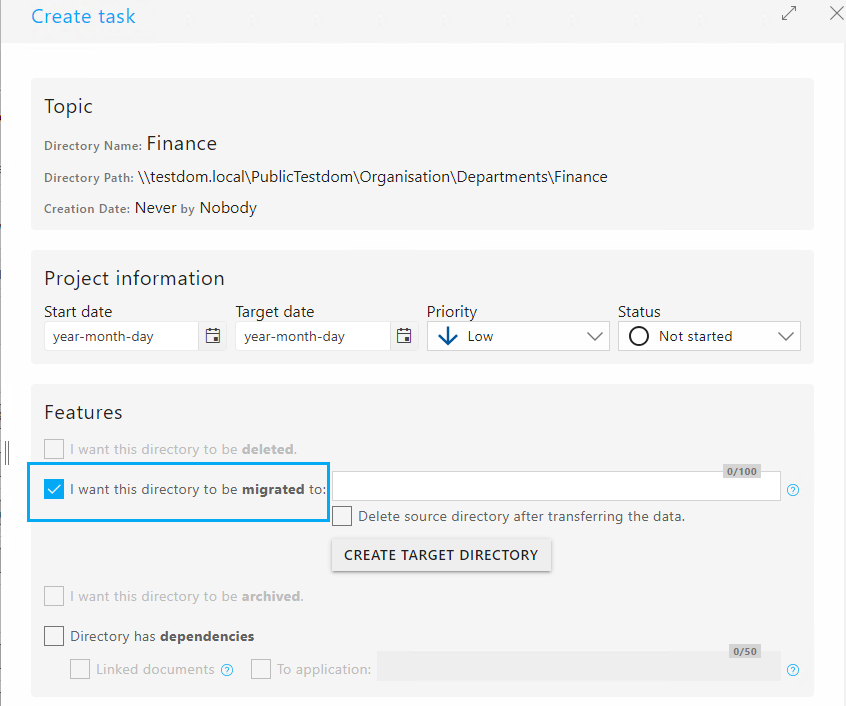
It should be noted that when creating the tasks in the migRaven.24/7 web interface, through which users always have to set a start date and the status to "In progress".
Requirements
You need to make migRaven.one have licensed.
It may on the migRaven Server & Hosting no GPO will be applied, the execution of PowerShell scripts.
Migration strategy (with or without synchronization), we would be happy to advise you in a preparatory meeting.
We encourage you to set up our Support/Consulting to be accompanied. Please make an appointment via support@migraven. Com.
Our support / consulting colleagues will provide you with the Download link of script pack is available for storage, management and analysis.
After you do that script pack downloaded, please unzip it on your migRaven Server & Hosting.
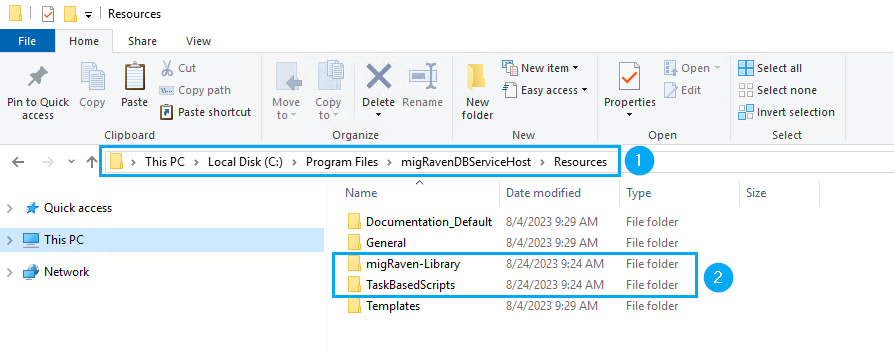
Navigate the path C: \ Program Files \migRavenDBServiceHost\Resources (1) and add the two folders of the script package (2) a.
After saving the directories to the above path, make sure the files are not blocked, which is always the case when you download/save files from external to your server.
Open one PowerShellISE as a Administrator and switch to the path
cd "C:\Program Files\migRavenDBServiceHost\Resources"Then allow all files in the path. To do this, use the command:
Get-ChildItem -recurse | Unblock-FileAllow PowerShell to run
Depending on the configuration of your migRaven Servers, it may happen that running PowerShell scripts are prevented.
To ensure that both the setup and operational scripts can run, please verify your Execution policy with the command below.
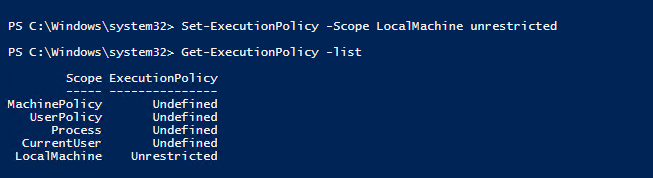
Get-ExecutionPolicy -listIs the policy for LocalMachine undefined or restricted, please set it up with the following command line in the PowerShell ISE unrestricted.
Set-ExecutionPolicy -Scope LocalMachine unrestrictedAfter you've done that, your Execution policy look like this.
Make sure you like taking the Requirements mentioned that you on the migRaven Server & Hosting save GPO apply, which overwrites this share again.
Running the setup
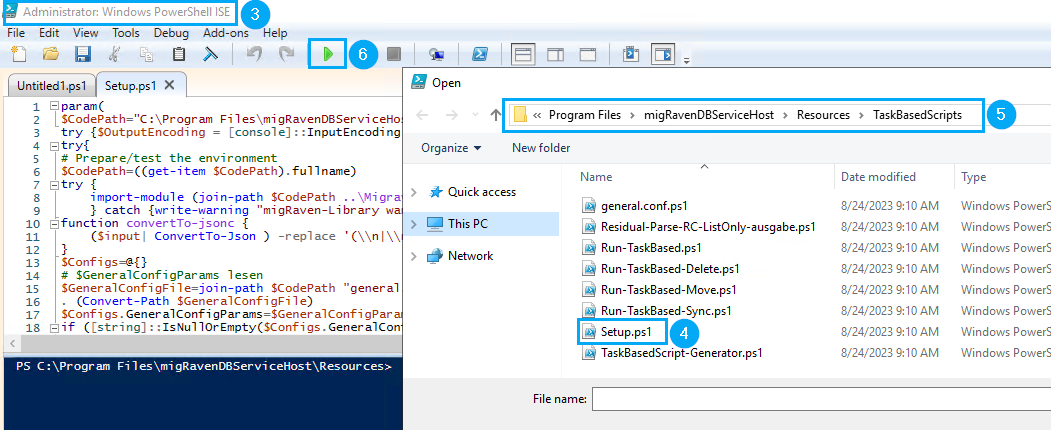
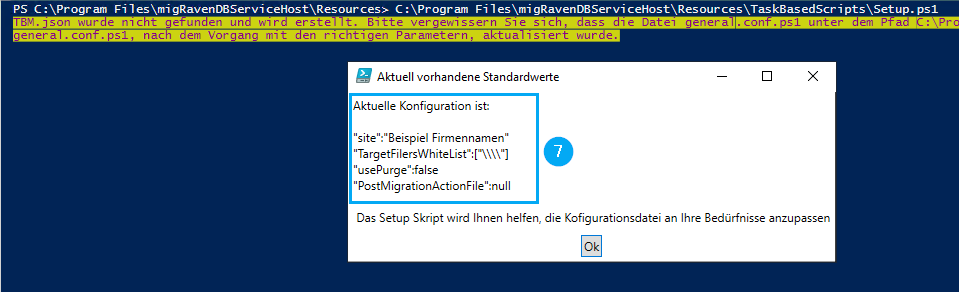
Start one PowerShellISE (5) as Administrator and run that -Setup (6) out of the path C: \ Program Files \migRavenDBServiceHost\Resources\TaskBasedScripts (7) from (8).
In the event of later changes to the configuration, we will show you the current configuration when you start the setup (7). Verify and confirm this with OK and then make your adjustments if necessary.
Enter the name of the company for which this configuration is to be used (10).

Enter one to n UNC target paths to which migration is permitted.
This configuration serves as whitelisting and ensures not to migrate to wrong targets that are in the migRaven.24/7 Task management are entered incorrectly. These tasks are ignored.
Available options:
Delete (9) – Deletes the wildcard UNC path \\ when running the setup for the first time. Later, the configured paths will be queried sequentially.
Keep (10) – In this case, keep the wildcard UNC path \\ or later all paths.
Rebuild / Replace (11) - Creates additional paths. After confirming the first path, the setup goes back to the path configuration so that you can add more paths.
Complete (12) – Completes the whitelist configuration.

Enter the target path as a UNC path (11) to migrate to. We recommend using a DFS.

Decide whether you want to merge or purge your data in the target directory during synchronization (12).
synchronization procedure
Regardless of which strategy you follow during the migration, we will show you how the different synchronization methods work.
If your migration strategy does not require synchronization, delete the Windows synchronization task again if you created it with the setup.
Purge
With Purge Sync, the target directory is always emptied first before the current database is migrated from the source directory to the target directory at the times you have predefined, so that you always find an up-to-date image of your source directory in your target directory.
Go
In the case of a merge synchronization, the data in the target directory that has already been synchronized there is always retained. New files from the source directory are added to the target directory, updates in the source directory are updated in the target directory but files deleted from the source directory are not removed from the source directory.

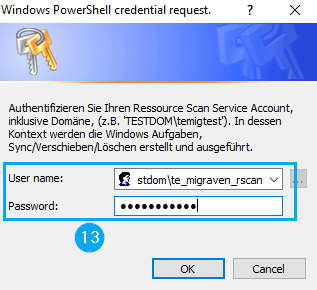
Authenticate your migRaven Resource Scan Service Account (13), in the context of which Windows tasks are created in the following and the tasks are executed.
Confirm the path for storing the encrypted database password (14), which you will receive from our support, with Enter.

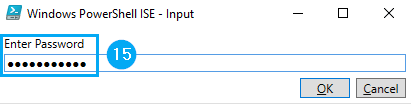
Then enter the database password that you received from our support and confirm with OK (15)
Creating the Windows tasks
You will then be prompted to configure the necessary Windows tasks.
Configuration of the migration task
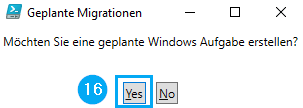
Confirm the question whether you want to create a Windows migration task with ja (16)
Indicate when migRaven.one to perform the task so it can't get in the way of any other of your jobs (17). Please note the required input format, HH: mm. Then confirm with Enter.

Configuration of the deletion task
Confirm the question whether you want to create a Windows delete task with ja (18)
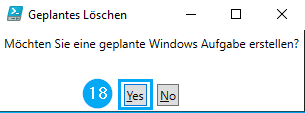
Indicate when migRaven.one to perform the task so it can't get in the way of any other of your jobs (19). Please note the required input format, HH: mm. Then confirm with Enter.

Configuration of the synchronization task
Confirm the question whether you want to create a Windows synchronization task with ja (20) if your migration strategy requires synchronization.
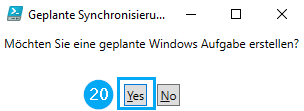
Indicate when migRaven.one to carry out the task so that it cannot get in the way of any other of your jobs (21). Please note the required input format, HH: mm. Then confirm with Enter.
It may be desirable for the synchronization task to be carried out several times a day, which is why you can specify several times here. Once you have entered all the times required before you, close the entry with q + Enter .

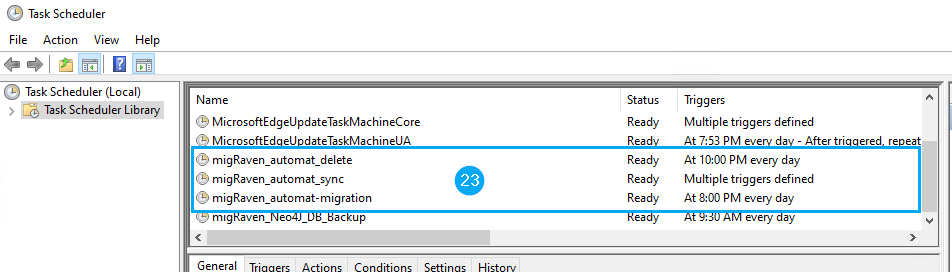
The setup is now complete (22), which now gives you different migRaven.one tasks are available (23).

Last updated: 06.07.2023