This Windows service is required to read out the desired file server resources, with all meta information, from the directories and into them migRaven Database to be able to write.
Recommendations:
- If only one file server: Scan service directly on that migRaven Install server.
- If several file servers in the same local network: on migRaven install servers
- If file server over WAN: Install scan service remotely in the filer's local network.
- If filer based on Windows: Installation on the filer itself.
- If filer with other OS (Netapp…): Installation on a Windows server directly next to the filer.
Push the Resource Scan Service to a remote server
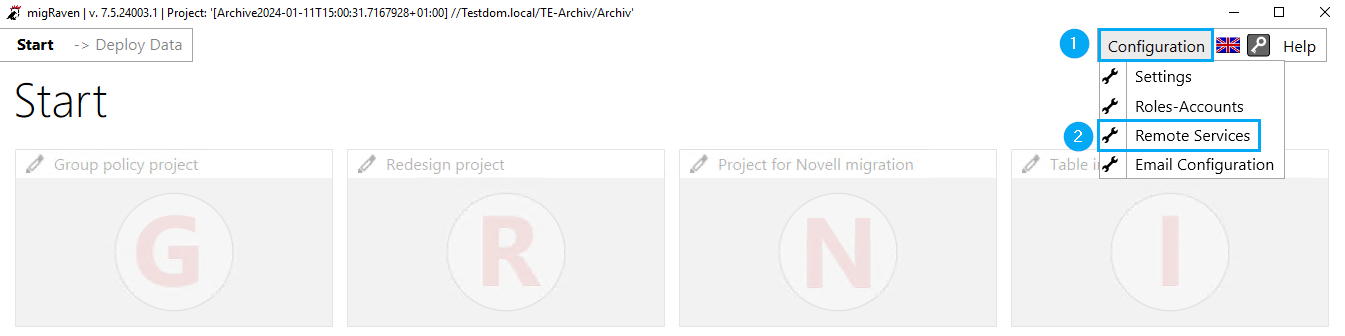
Öffnen Sie die Configuration (1) and select from the context menu Remote services (2)
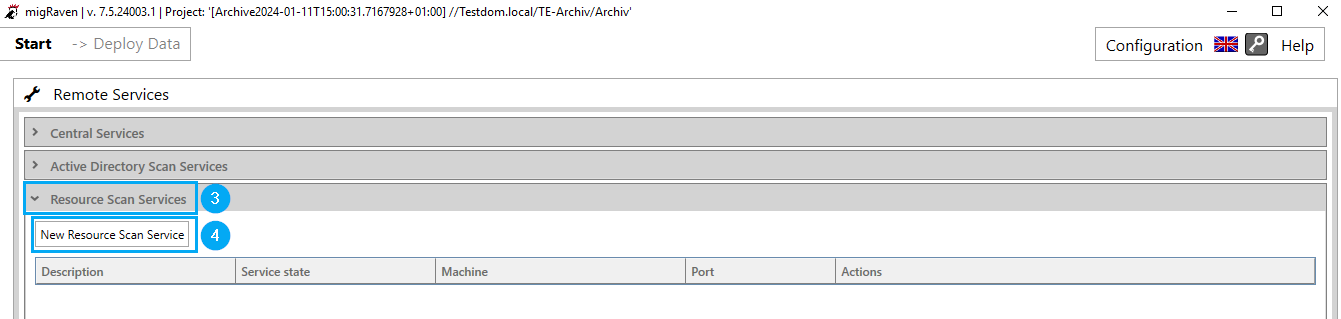
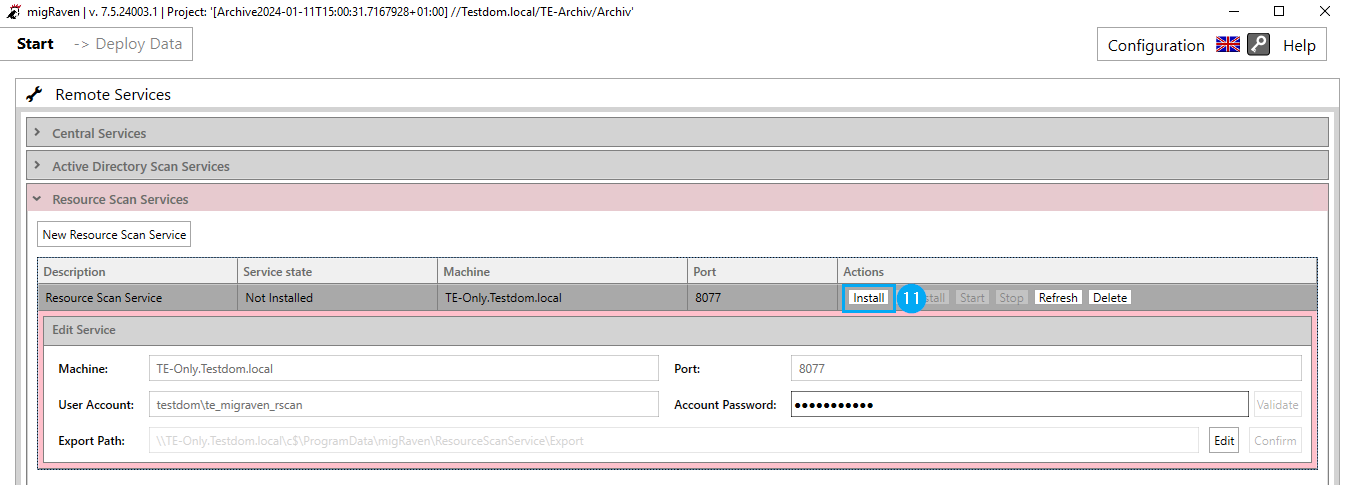
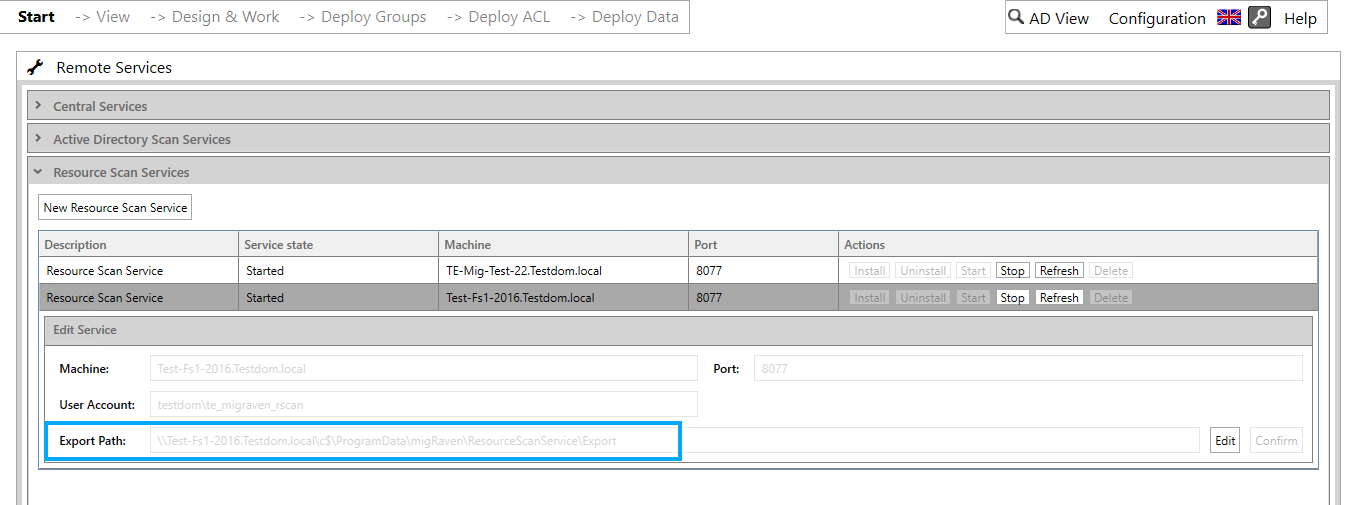
Öffnen Sie die Resource Scan Services (3) and select New Resource Scan Service (4)
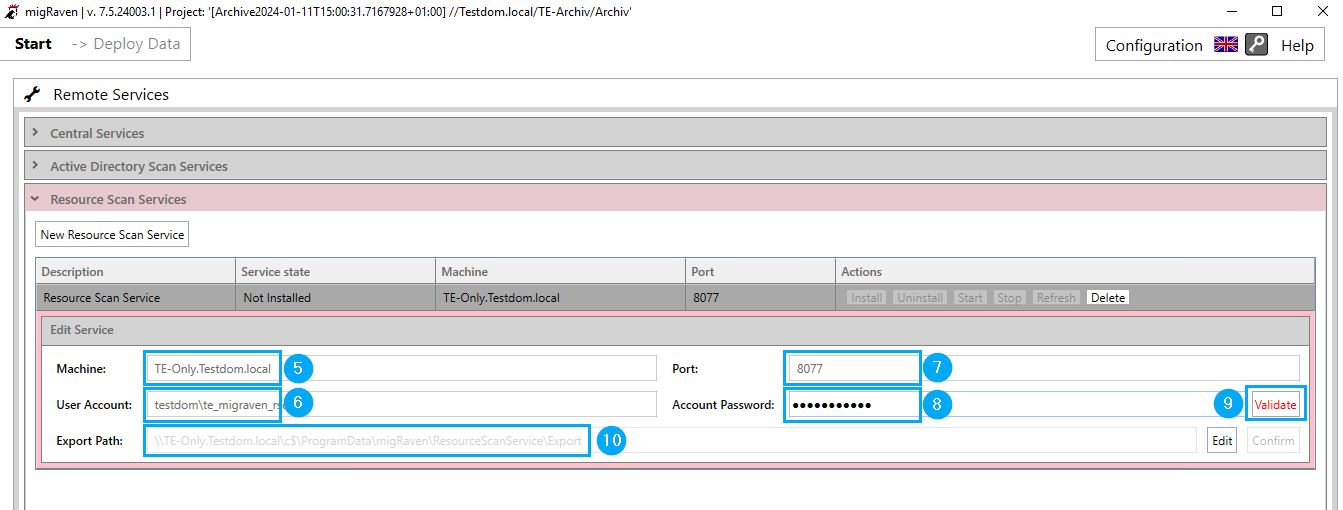
Carry them under Machine (5) Enter the FQDN of the server, leave that Port (The Harbour District) unchanged (6). Next, enter the previously created service user for the resource scan, including the leading domain (7), and its password (8) and validate your entries (9).
Brequired Windows service accounts for migRaven.24/7
If you are in connection with the Export path (10) if an error message is displayed, check whether the directory has been created correctly. If the directory cannot be created automatically, please create it manually at the path and ensure that the resource scan service user has write access to the folder.
\\FQDN server\c$\ProgramData\migRaven\ Resource Scan Service \ Export
After you have entered all the data correctly, install the service (11)
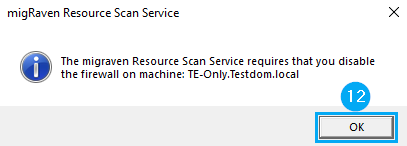
Do you have yours migRaven Server & Hosting set up following our system requirements and the Port (The Harbour District) Left unchanged, confirm the following message (12), this refers to the firewall release.
Required port forwarding
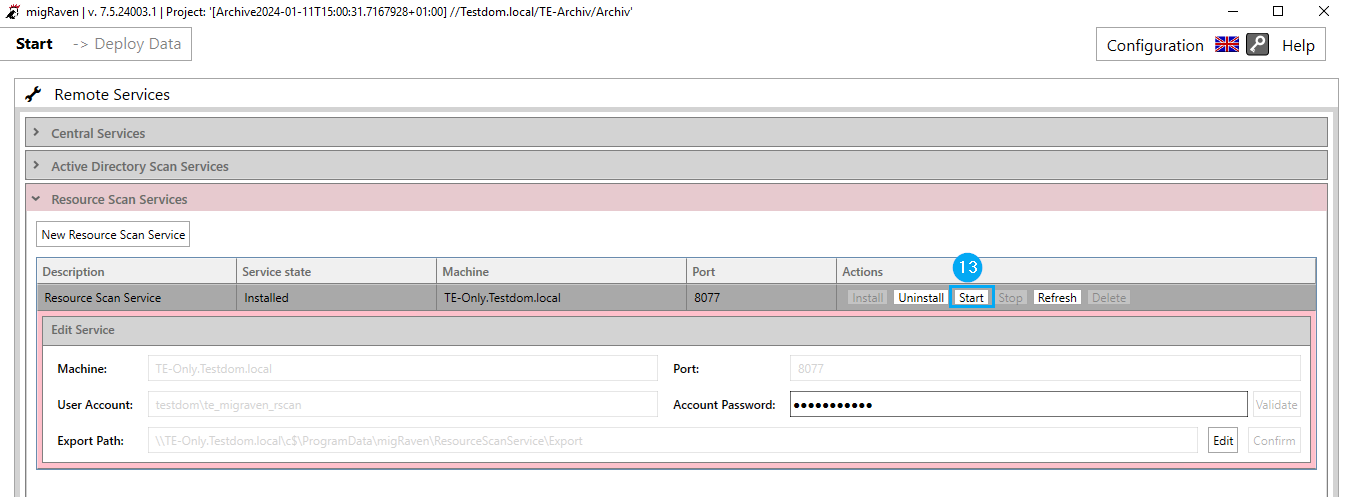
Then start the service (13).
Please read the article about this Set up scans of shares (create projects) .
To do this, please follow the steps below:
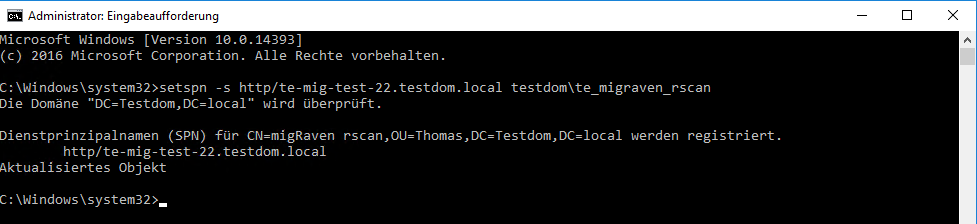
The operating account must be registered as a Service Principal Name (SPN) on the target server (e.g. a file server in the same domain).
To do this, run the command line query as administrator from the target server on which the service is to be installed. Run the following line:
setspn -s http/
For example:

Result:
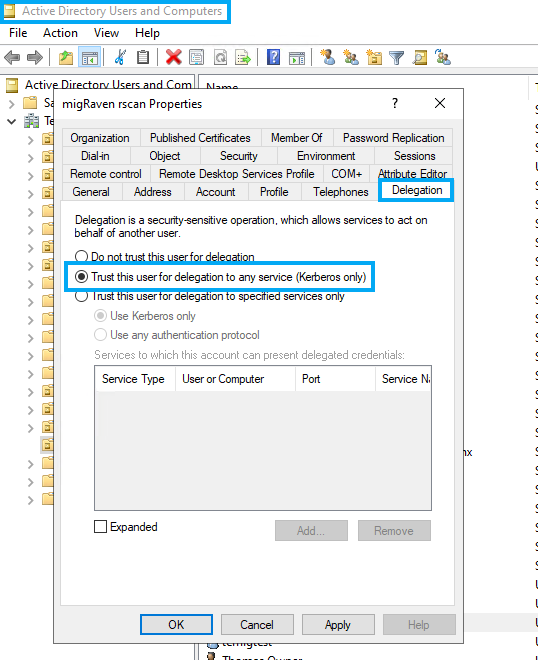
Open the Active Directory Users and Computers Management and activate the option in the user's settings on the Delegation tab Trust users when delegating all services (Kerberos only)
The new service can then be pushed to the target server and started.
To do this, please proceed as described above. The main difference between setting up the Resource Scan Service on a different server is that the machine is configured with the FQDN of the target server.
In any case, leave the export path on the target server. Here the information is packaged in order to transport it collectively over the WAN route.
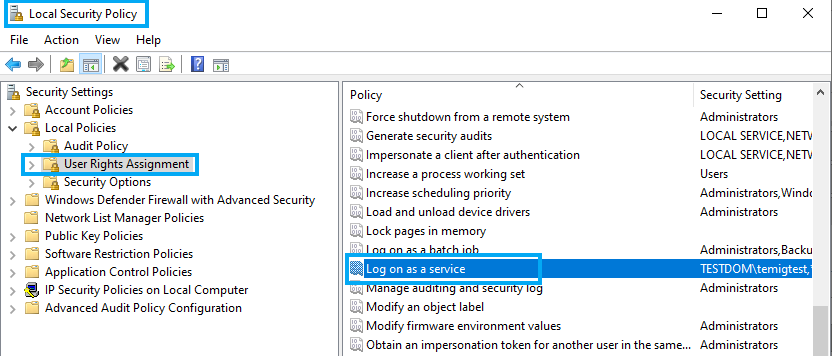
Make sure that the service account has the "Log on as a service" right in the Local Security Policies, if this is not filled in automatically.
Also make sure that ports 8999 and 8077 are open on both the migRaven Server & Hosting and on the target server are open in both directions.
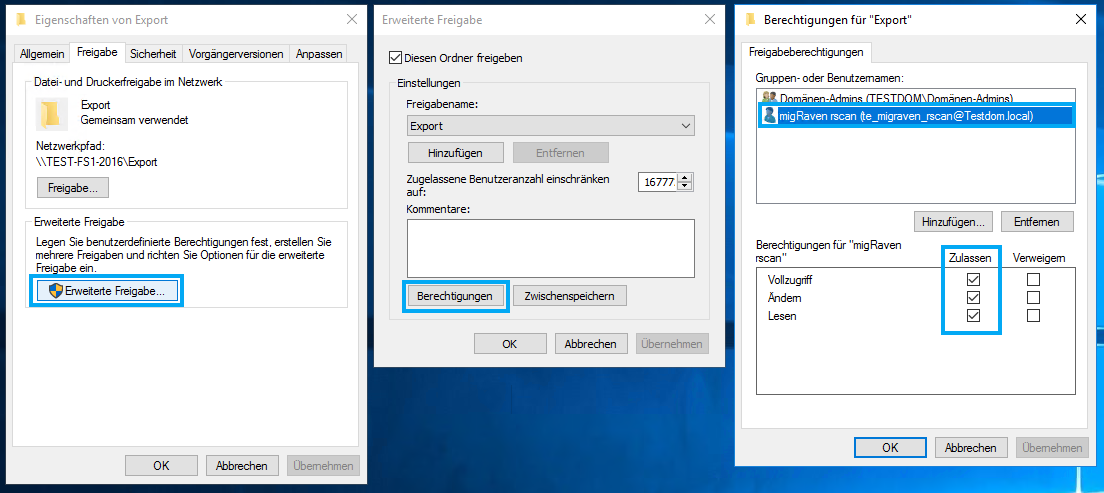
If the connection to the target server is rejected when setting up the scan via the service, share the export folder on the target server and authorize Scan Service User with full access to the share.